Quickstart Setup
TL;DR
To install the compiler, or the interpreter (with Python for example) and anything you need to work with, in your dev environment (i.e. dependencies, plugins, frameworks, servers), usually means being familiar with the operating system (OS), particularly the command-line interface (CLI), in other words: system administration.
The concept of running Python programs on a browser-based dev environment (e.g. GUI, IDE, CLI) may seem like a distant dream, but fortunately, with the current technology stack available, this is already a viable solution!
To run simple Python scripts, there are couple options out there:
- PythonAnywhere a fully-fledged Python environment, ready to go, for students and teachers (host, run, and code Python in the cloud).
- Google Colab notebooks to combine executable code and rich text in a single document (along with images, HTML, LaTeX and more).
However, if we need something more advanced – as well as more control over the dev enviroment itself – go on to the next sections to find out how to fire up a powerful Linux host and anything you need, with just a couple commands!
To outline, in a few words, the two (similar) solutions here below: in both cases a containerized dev environment is instantiated (locally, with Docker or in the cloud, on GitHub). From there, all the fundamental tools we need (an IDE and the CLI) to develop, are accessible from the browser itself.
What was missing was in principle just a GUI to to render pygame graphics.
To overcome this issue, fortunately thanks to the pygbag module, we can access the game as a webapp on a browser-based GUI. More info on this package at the following links:
Docker setup
This is the most effective solution to get a fully fledged dev environment (locally): with minimal installation requirements (just Docker) and full controll over the available resources, as well as over the whole environment!
Once installed Docker on you personal computer (check out the right installation package given the OS)

open any CLI, and run the following command
docker run --name cis1051-python -d -p 8020-8040:8020-8040 alnoda/python-workspace
this will run a Docker container, in detached mode, with the promised dev environment accessible from the browser.
After the alnoda/python-workspace Docker image has been pulled (just the first time) and the Docker container is up and running, go to localhost:8020
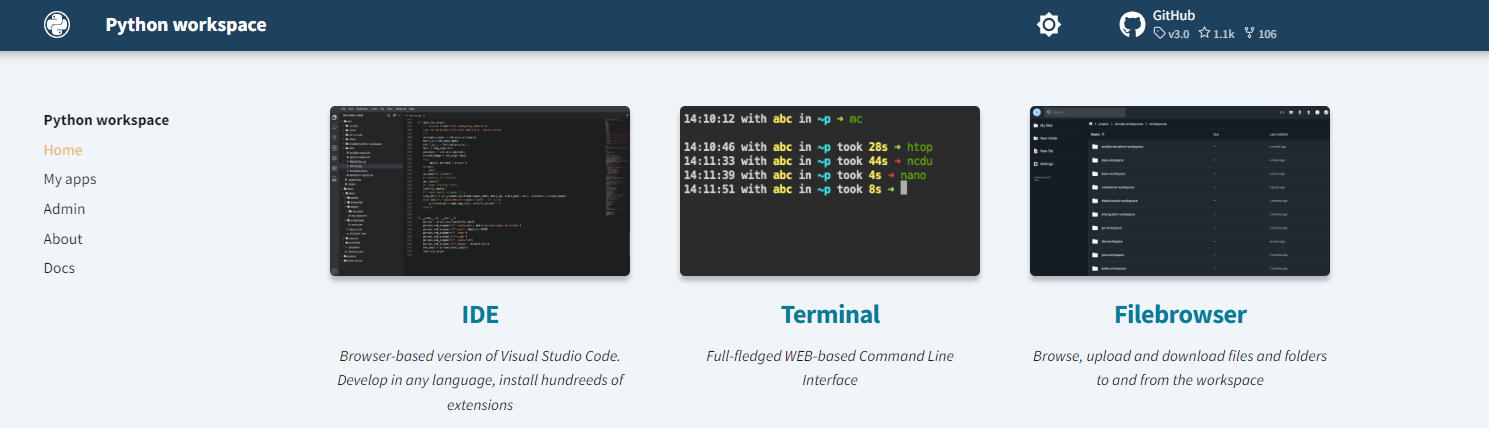
From there open the Terminal webapp (CLI) and first of all, clone the repo tur-learning/CIS1051-python
git clone https://github.com/tur-learning/CIS1051-python.git
Now we can start installing all the necessary dependecies, starting from pygame module, the most important one!
pip install pygame
Then, let’s install a custom version of the pygbag module:
git clone https://github.com/andreagalle/pygbag.git
cd pygbag
git checkout docker-workspace
pip install -e $PWD
At this point, go back to the repo root and navigate to the example you want to run, for instance:
cd ..
cd CIS1051-python/lab-sessions/snake/challenge/lab_4/level_10/
From there, run it with the following command
pygbag --docker_workspace --port 8030 main.py
go to localhost:8030 click on the Ready to start ! button and that’s it!
GitHub Codespace setup
This is the quickest way to spin up a lightweight dev environment (in the cloud): without the need of installing anything at all on your personal computer, althougth sacrifying to some extent the available resources and control, over the environment itself.
Once logged-in on GitHub, navigate to the repo tur-learning/CIS1051-python and click on the Use this template > Open in a codespace button

This will open a browser-based IDE (essentially vscode) in a new tab.
From within the integrated CLI, change to the parent /workspaces directory with
cd ..
so we can start installing all the dependecies we need, starting from the most important, pygame module!
pip install pygame
Then, let’s install a custom version of the pygbag module:
git clone https://github.com/andreagalle/pygbag.git
cd pygbag
git checkout gh-codespaces
pip install -e $PWD
At this point, go back to the repo root and navigate to the example you want to run, for instance:
cd ..
cd CIS1051-python/lab-sessions/snake/challenge/lab_4/level_10/
from there, run it with the following command
pygbag --gh_codespace ${CODESPACE_NAME} main.py
and access it on the default port 8000 under the randomly choosed codespace domain (example below)

Then click on the Ready to start ! button and that’s it!
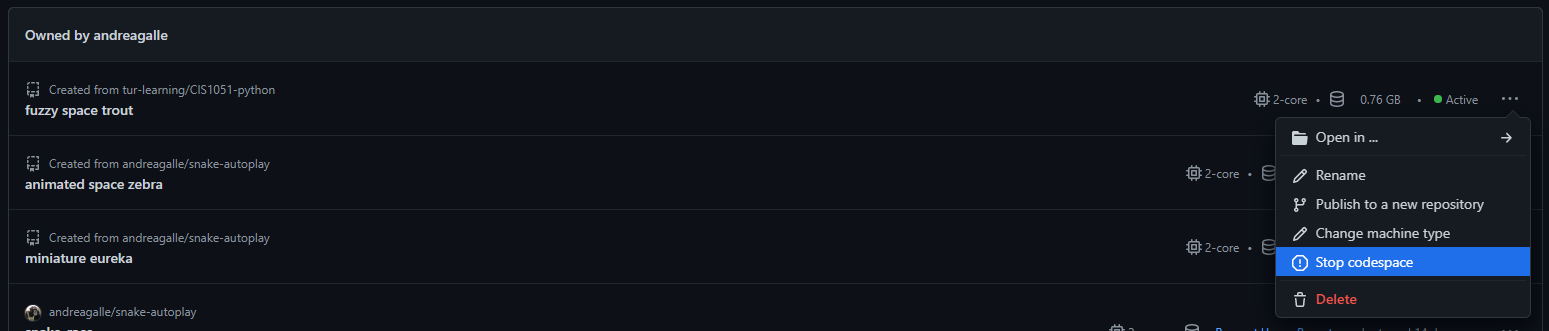
N.B. always remember to turn off the codespace we just instantiated, not to waste useful resources (i.e. core hours used). Thus click on the GitHub Codespace tab at the Top Navigation Bar of the repo

then, search for the running codespace randomly generated name and stop it.